DIY Hydrogen Generator
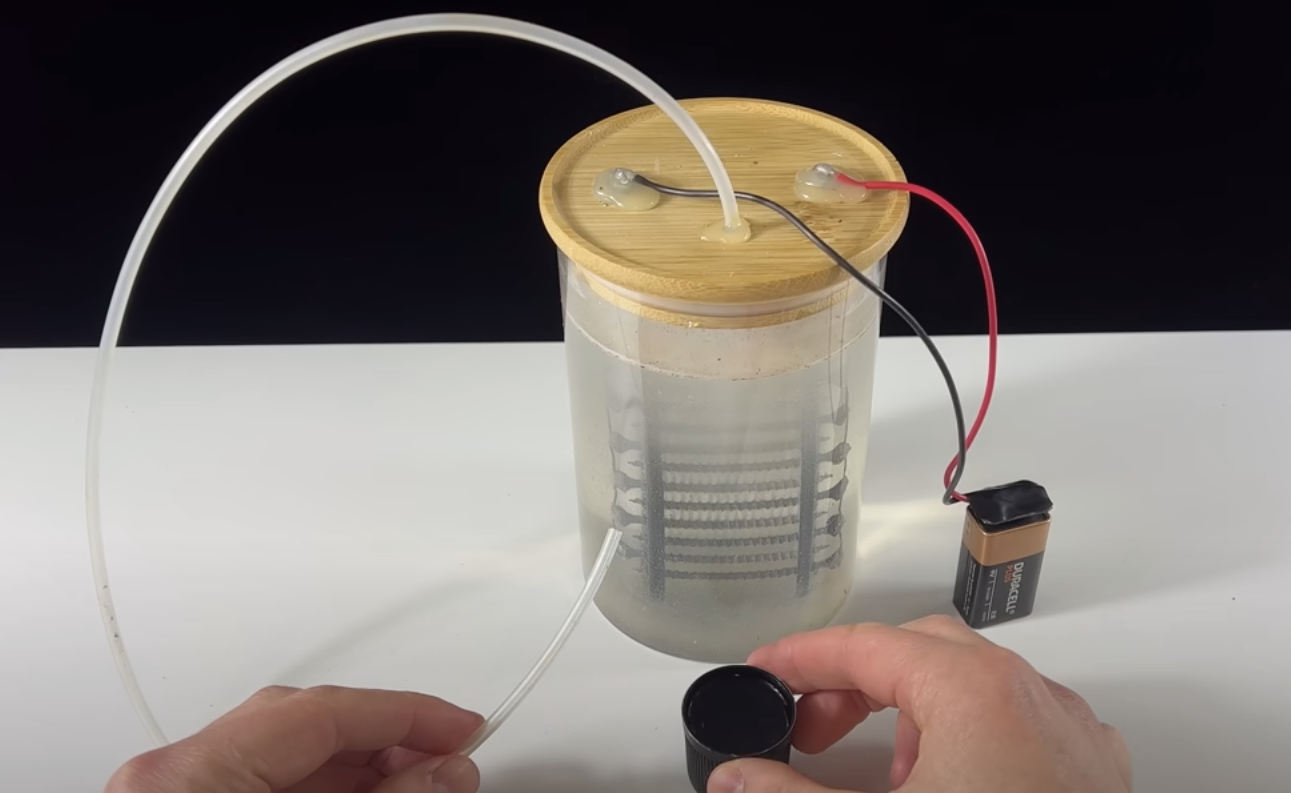
In this post, I want to share my own creation of an generator.
What is the objective?
The objective is to create from and electrical current.
This is done by placing two conductive materials in a mixture of water and another component called the electrolyte. We then run an electric current through the conductive parts, which are connected by the water.
What does it look like?
I originally got inspired by this video.
And I came up with this design:
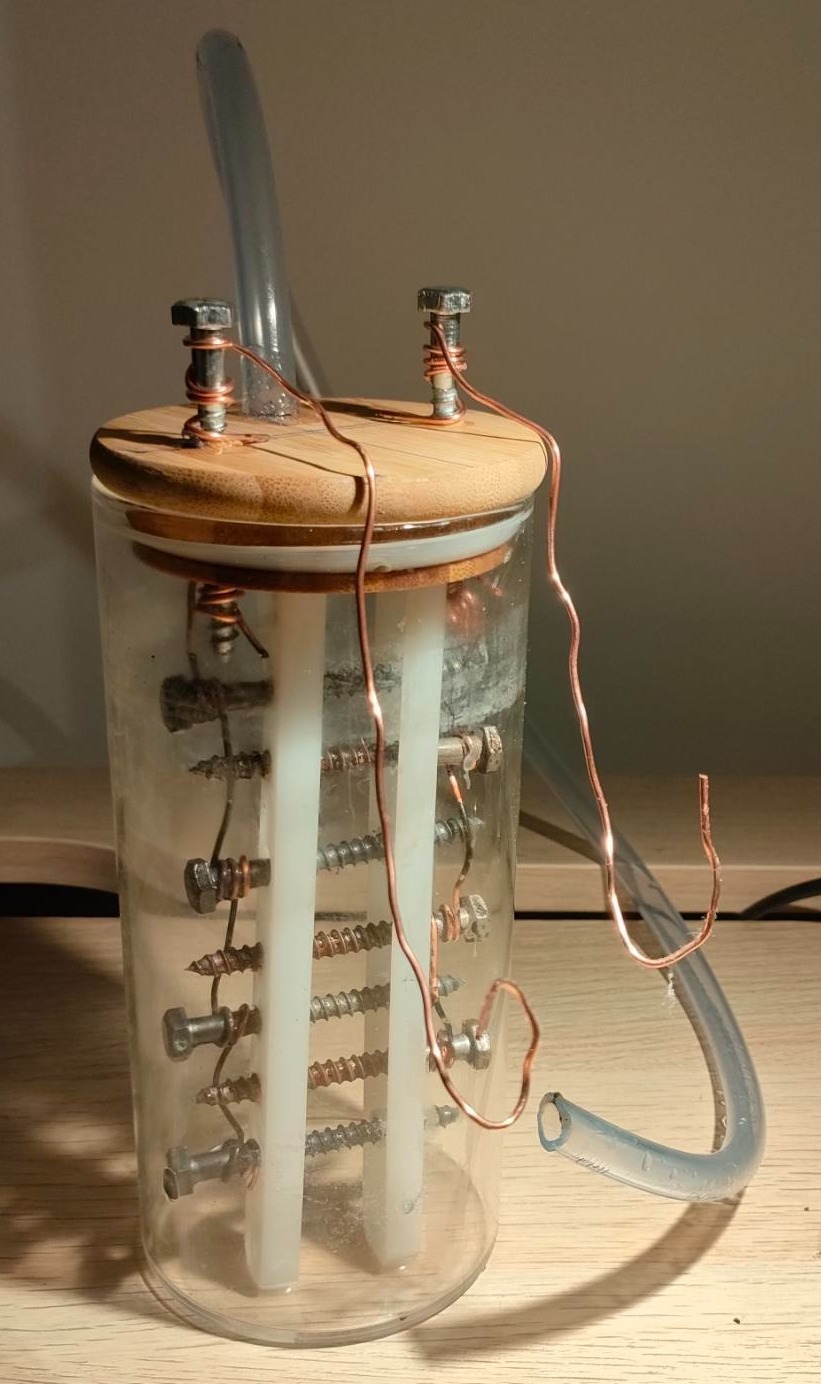
List of items I used
- Hermetic jar
- Nails
- 6 V battery (DC)
- Copper wires
- Water
- Drill
- Tubes
- NaOH or KOH
- Glue
How does it work?
Two main reactions are taken into account. The first occurs at one electrode, while the other occurs at the other electrode.
One electrode is called the cathode, where the following reaction occurs:
This reaction is called the reduction of . It consumes electrons and releases .
The other electrode is called the anode, where the following reaction occurs:
This reaction is called the oxidation of . It releases electrons and produces .
The ions act as the electrolyte. They are introduced into the solution using , although can also be used.
The solution is therefore alkaline. Similar reactions can also occur in acidic solutions, but different electrodes and electrolytes are required.
First step: NaCl
I did not have or at first, so I used salt () as an electrolyte. However, it did not really work out:
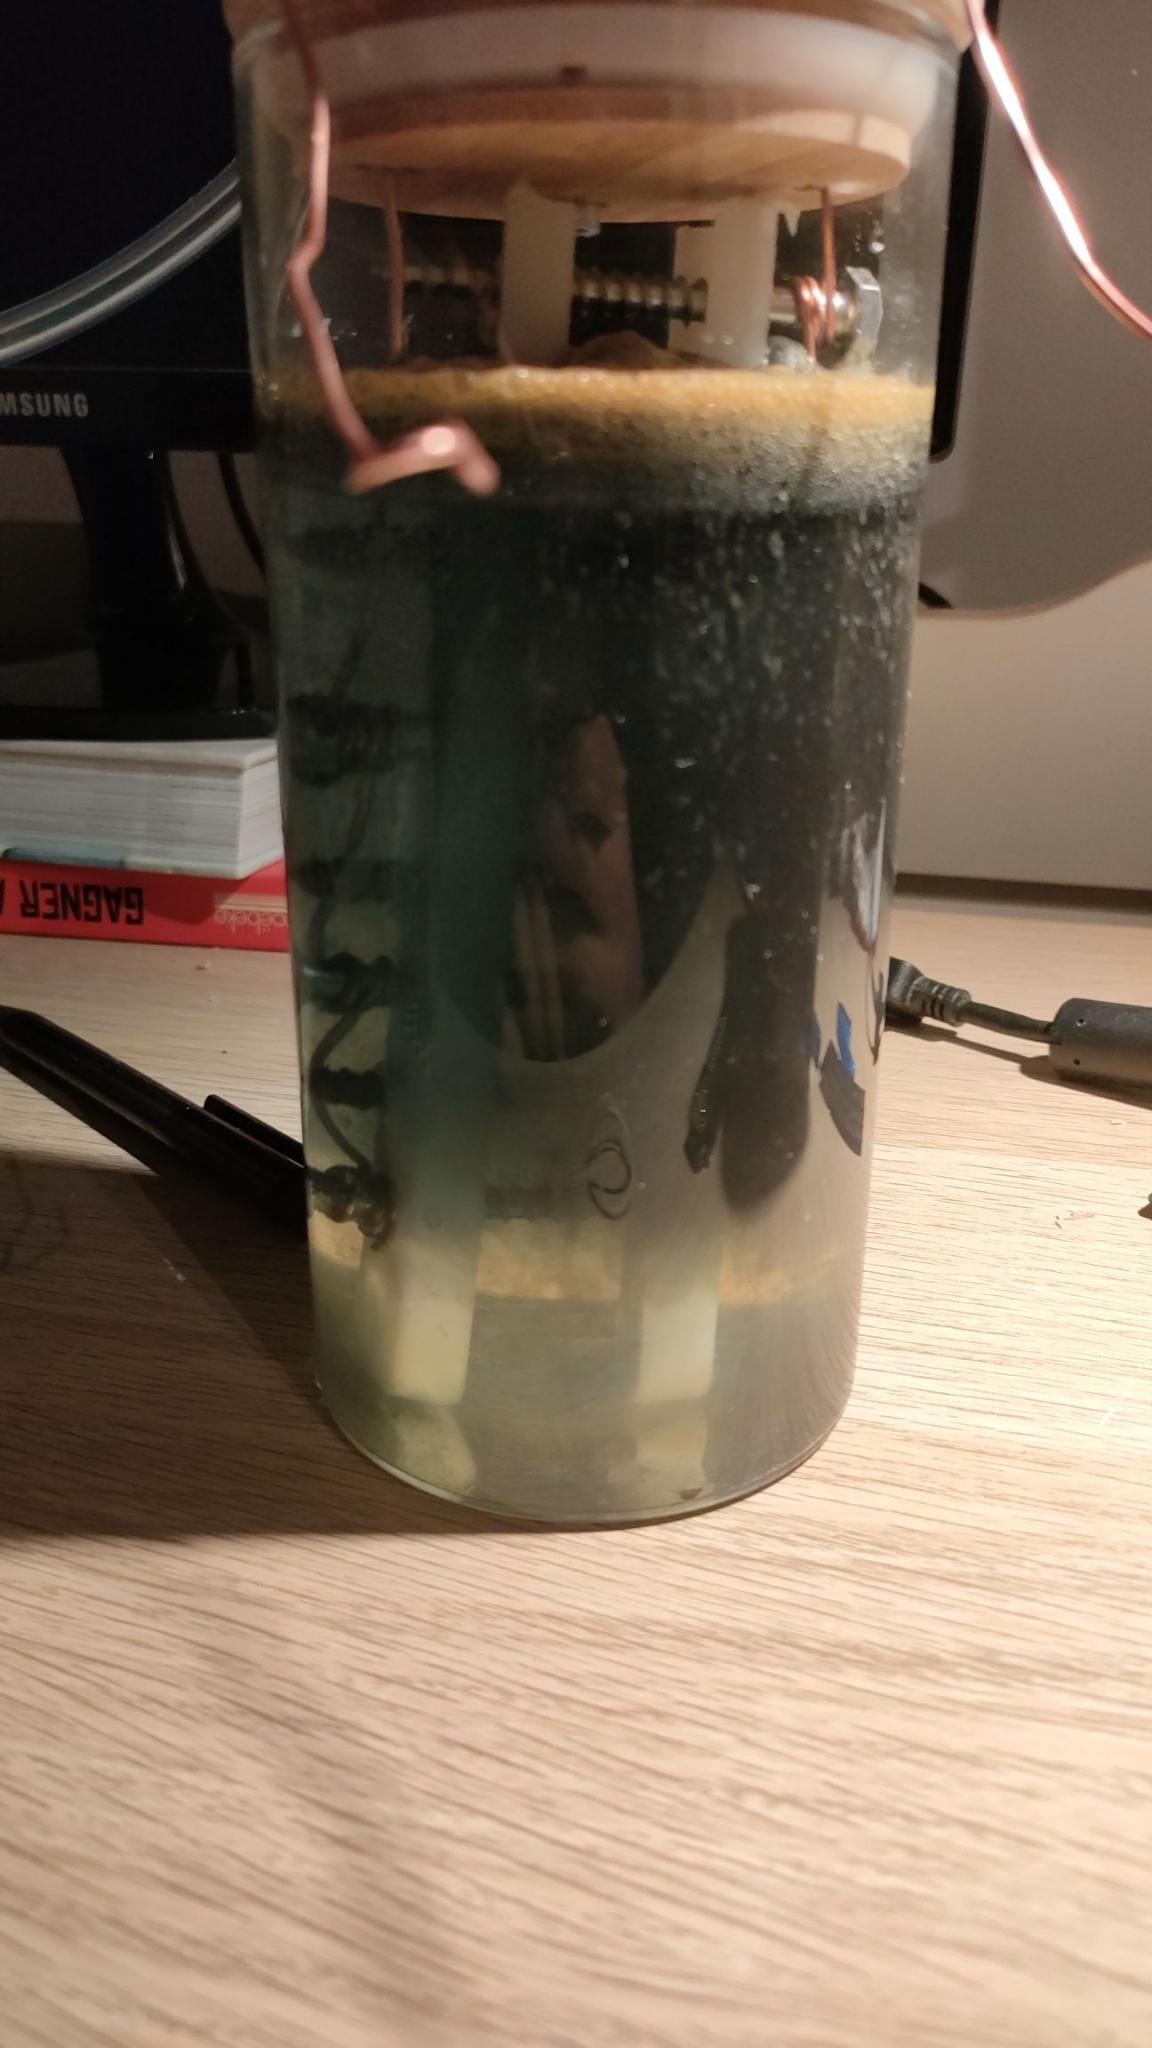
It produced a strange green smoke.
Second step: KOH
I then used , and it worked beautifully.
Videos
Conclusion
It was a fun experiment that was not very expensive. The most expensive components were probably the battery and the .
It also taught me quite a bit about electrolysis and chemistry.